Getting Started Web Tutorial
The following is a walkthrough on using the TIBCO Cloud™ Integration web site to push, scale, and delete a TIBCO BusinessWorks™ App. This tutorial is aimed at DevOps administrators who have been provided an app EAR file from a developer, and want to push, scale, monitor, and administer the app. For more details on each step, click the corresponding link.
Register Your Account
To begin using TIBCO Cloud Integration, you must register an account and log in to the TIBCO Cloud Integration web site. See Registering a TIBCO Cloud™ Integration Account for more details.
Create and Push Your App
Use the TIBCO Cloud™ Integration web page to create and push your app to TIBCO Cloud™ Integration.
The following example uses the sample app petstoreapplication_2.0.0.ear. You must first generate this deployment artifact using TIBCO Business Studio™ for BusinessWorks™. For a tutorial of this process, see Deploying an App from TIBCO Business Studio™ for BusinessWorks™.
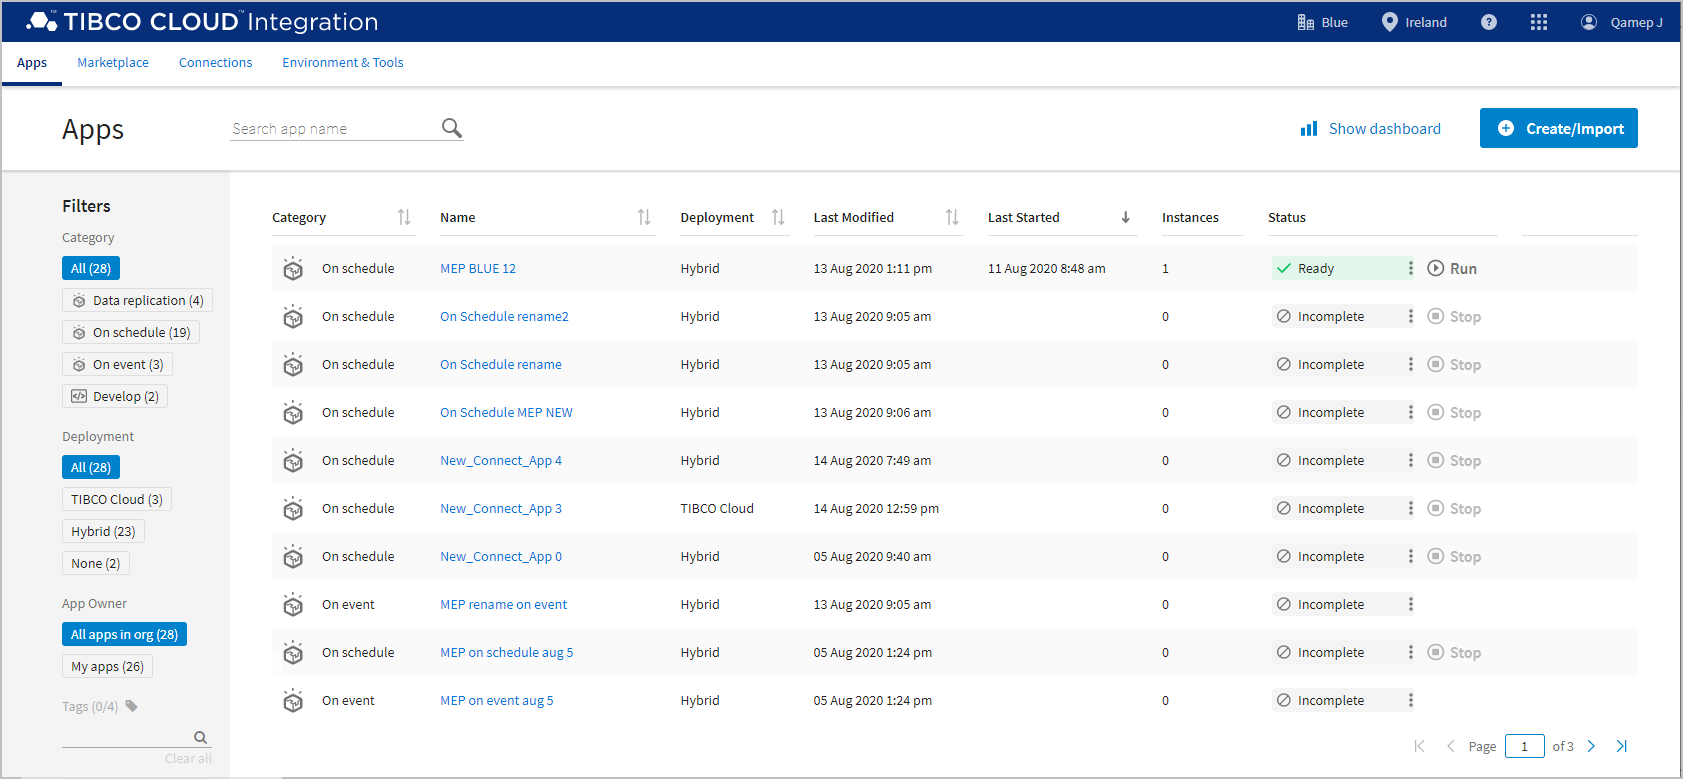
- Make sure you are still logged into the TIBCO Cloud™ Integration web page using the login and password you created in the previous section. Go to the Apps page.
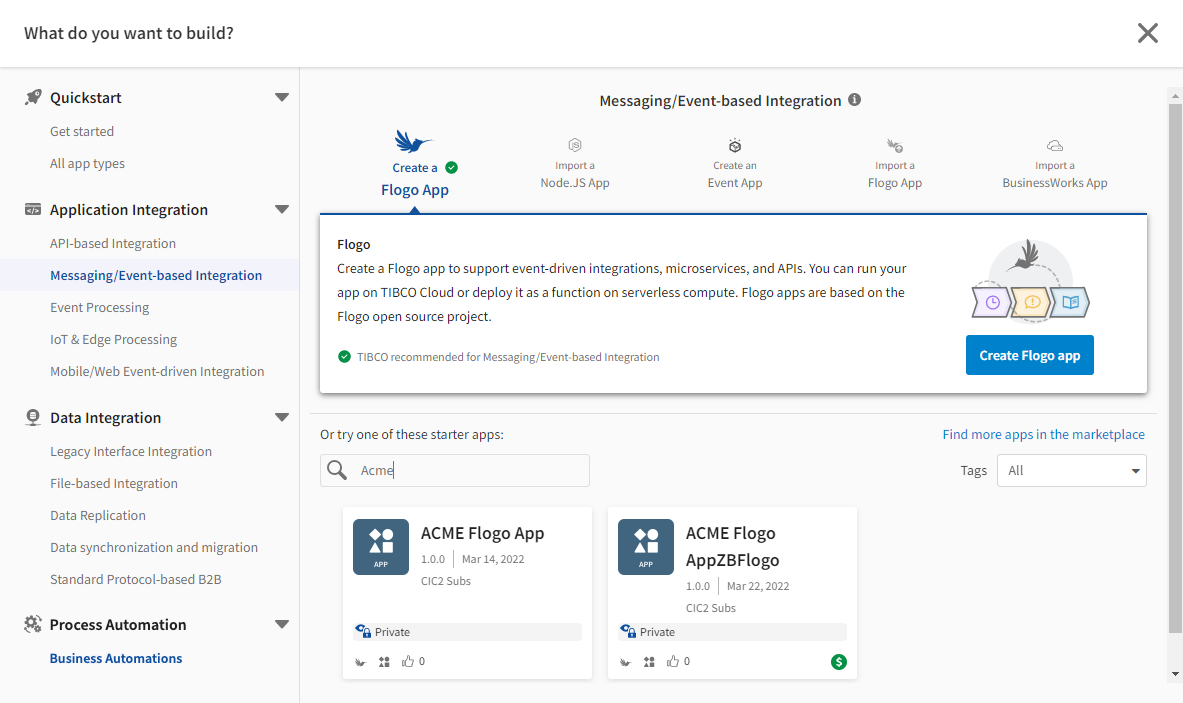
- On the Apps list, click Create/Import. The Create App window is displayed.
- Select All app types.
- In the panel on the right, select Import a BusinessWorks app. Click Next.
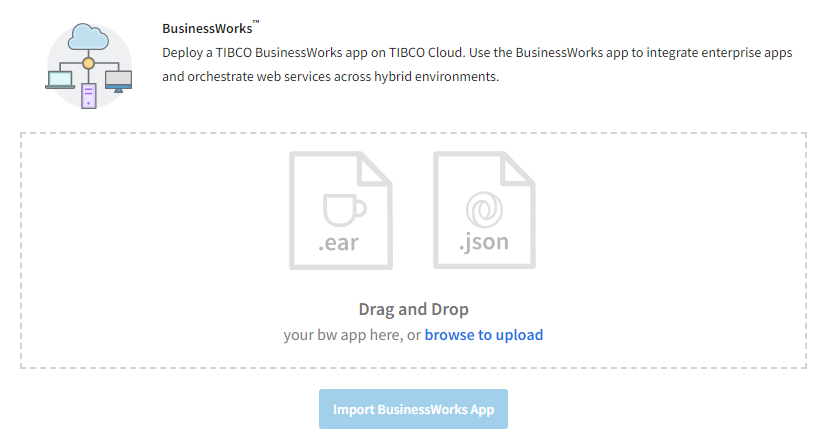
The Import app panel is displayed.
- For this example, we will import the Pet Store TIBCO BusinessWorks App. Drag and drop the
petstoreapplication_2.0.0.earfile onto this window. If you are using Chrome, you can drag a folder into this window. You can also click Browse and find the files on your system. - Click Import App. The App Details page for the new app is displayed.
See also:
Scaling the App
After pushing an app with the Web UI, the app does not run. Let's start, scale, and stop the app we just pushed.
- On the Apps page, find the Pet Store app. If there are many apps on the page, click a column heading to sort the list, for example, click Last Modified to find the newest apps.
- Click the app to go to the App Details page.
- Find the Instances control at the top right of the page. This shows the target number of instances to run. The status indicator next to it shows if the app is running.
- Hover over the instances number. Use the arrow control that displays to change the number of instances.
- Click the up arrow to add instances to the app, then click Scale.
- Click the down arrow to remove instances of the app, then click Scale.
See also:
Viewing Endpoints
- Next, view the app's endpoint. On the App Details page, click the Endpoints tab to display a list of the app's endpoints.
- Click Test to display the contents of the URL in Swagger in a pane within this tab. You can click methods to expand them and use the Try it out button to test the endpoints.
See also:
Viewing Performance Monitoring Statistics
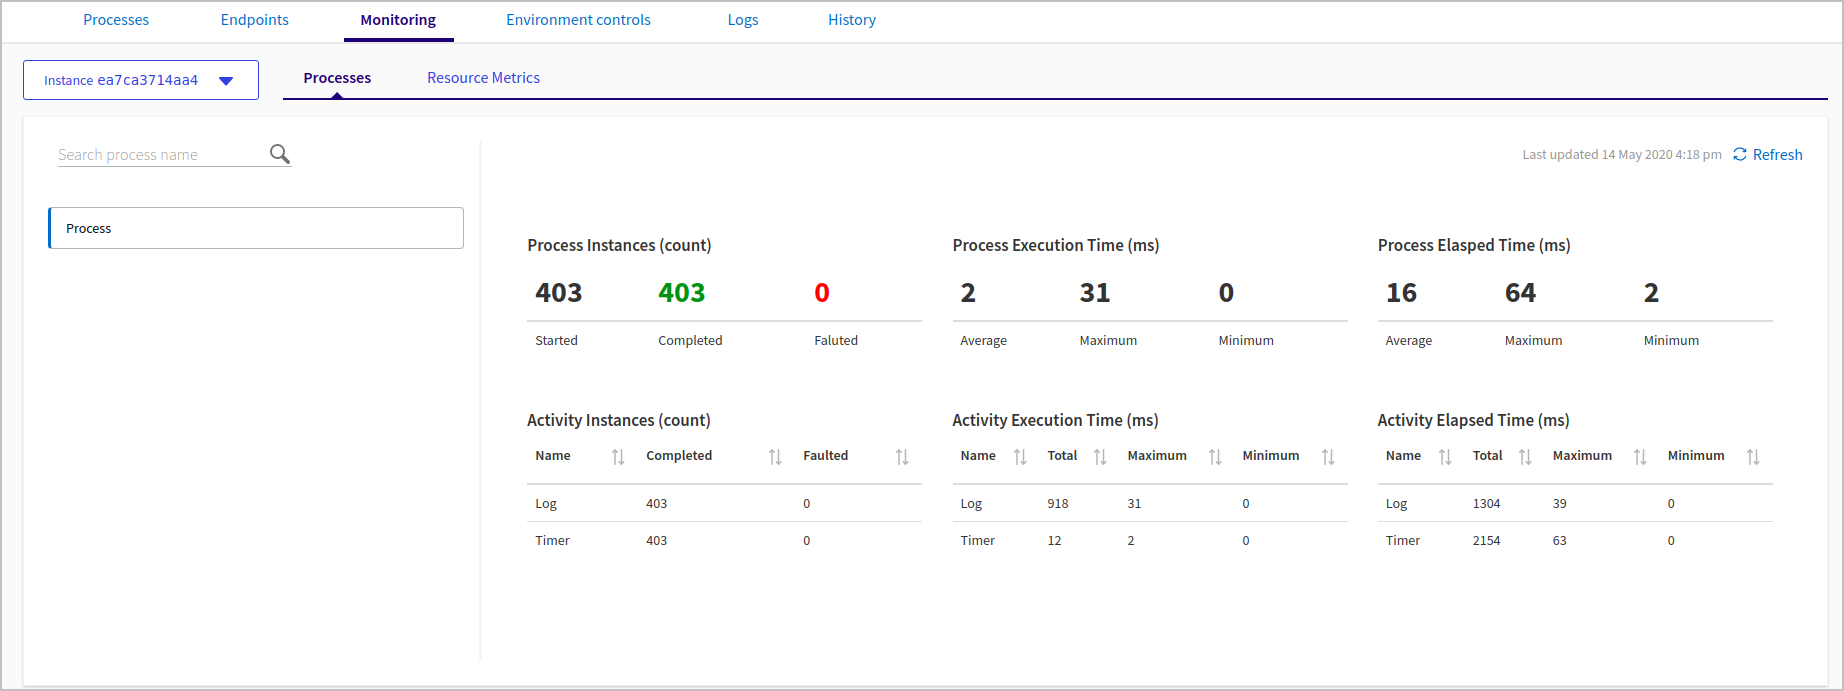
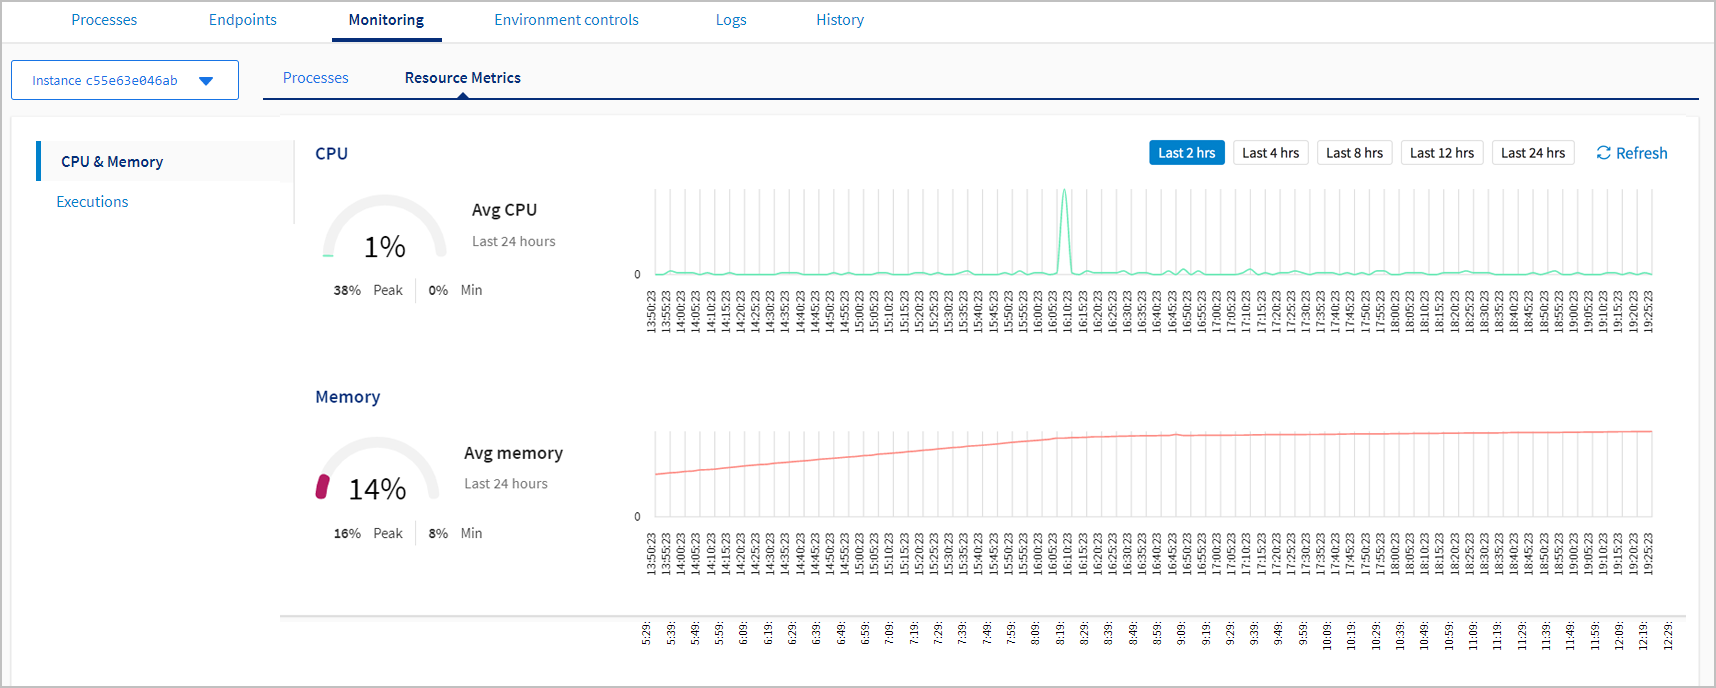
Monitor the performance statistics of your apps on the Monitoring tab of the App details page. This tab displays process information, such as the total number of processes that have completed or failed, and performance metrics such as CPU and memory usage.
To view monitoring statistics:
- From the top navigation bar, click Apps.
- Click a running app in the Apps list.
- Click the Monitoring tab.
- The Processes tab is shown. Click a process in the list to the left.
- You can also click the Resource Metrics tab, then click the CPU & Memory pane for graphs of CPU and memory usage, or the Executions pane, to see a graph of process execution success and failure.
See also:
Viewing Logs
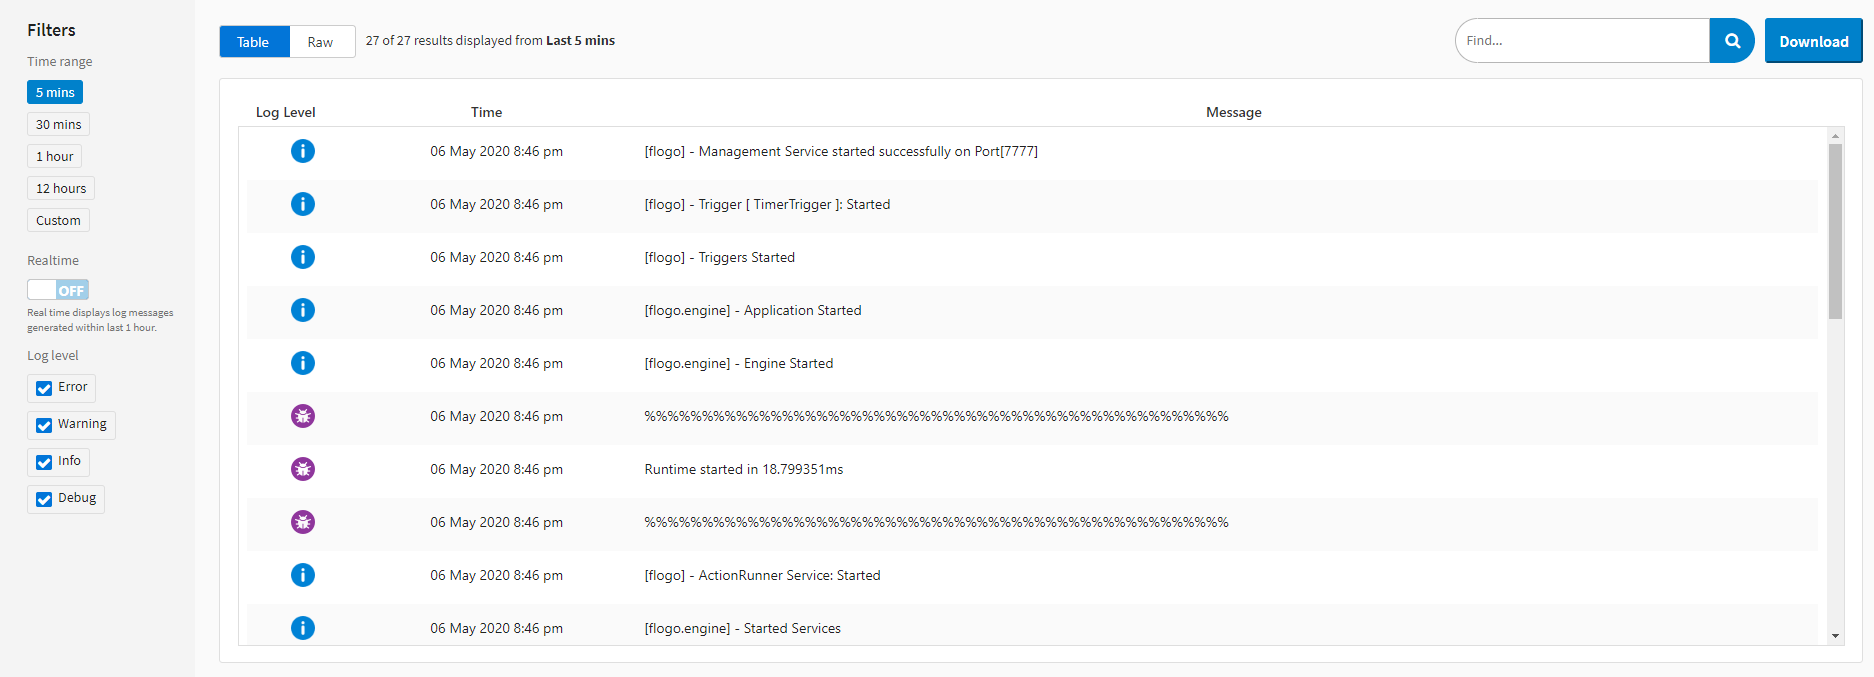
View app logs for your running app to monitor its performance and debug any potential issues. App logs are shown for the last five minutes by default. You can also display a different time/date range of historical logs, stream real-time logs, or download app logs.
To view and download logs:
- From the top navigation bar, click Apps.
- Click a running app in the Apps list.
- Click the Logs tab.
The last five minutes of historical logs display. You can search through log entries using the search box.
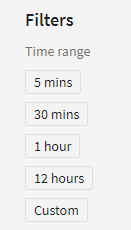
- In the Filters section to the left of the log pane, click a range under Time Range to select a different range of logs to view.
In addition to historical logs, you can also view real-time logs, which are continuously updated in real time.
To view real-time logs:
- Click the Realtime control on the Filters panel to toggle on real-time logs.
The last hour of app logs is displayed in a scrolling window in the Logs tab, and continuously updates in real-time. They are refreshed every ten seconds, and new log data is added to the top of the display.
- To return to historical logs, click the Realtime switch and toggle it off, or select a range in the Time range control.
To download logs:
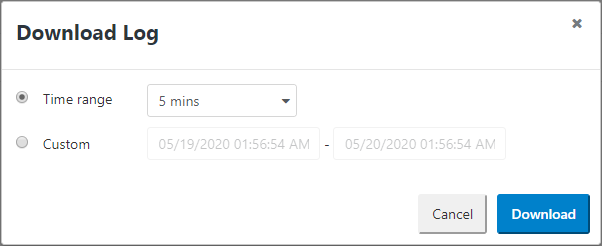
- On the Log tab, click Download.
In the Download Log dialog, select a date/time range.
- Click Download.
The log entries within the specified time range are downloaded in a text format file.
Note: Log downloads are limited to 10 MB of data.See also:
Configure your App
If you need to change the values of properties in your app that were defined by default, you can late-bind new property values for a TIBCO BusinessWorks App. On the App details page, in the Environment Controls tab, the current values of app properties can be inspected, modified, or reset to their defaults.
Saving the new configuration changes restarts the app with the new values. The automatic restart allows you to modify properties without pushing and building a new EAR file, speeding up changes for moving from test to production, or changing credentials or other variables.
To configure your app:
- Click the Apps tab.
- Click a running app in the Apps list.
- Click the Environment Controls tab.
A list of app variables is shown in the Application Variables pane. For each property, the name, type, and value are shown.
- To change a property, click the displayed value and enter a new value. To return the value to its default value, click Set to Default.
- After you have made changes, the No updates to push text in the upper right changes to two links: Discard changes and Push updates. Click Push updates to restart the app with the new values, or click Discard changes to revert changes to the default values.
See also:
Delete Your App
After you are done with your app, you can delete it.
